DIY Hanging Shades: A Step-by-Step Guide
Are you tired of harsh sunlight and lack of privacy in your home? Installing shades can be a simple and cost-effective solution. In this article, we'll walk you through a comprehensive guide on how to create and hang your own DIY hanging shades.
Benefits of DIY Hanging Shades
DIY hanging shades offer numerous benefits, including:
- Cost savings: Making your own shades can save you hundreds of dollars on window treatments.
- Customization: You can design and create shades that fit your unique style and preferences.
- Easy installation: With the right tools and guidance, you can install your shades in no time.
- Energy efficiency: Shades can help regulate temperature and reduce energy bills.
Materials Needed
To create your own DIY hanging shades, you'll need the following materials:
- Fabric or vinyl of your choice
- Measuring tape and pencil
- Drill and drill bits
- Shade brackets or screws
- Hinges and clips (optional)
- Rope or cord for hanging
Step 1: Measure Your Window
Measure the width and length of your window to determine the size of your shade. Consider the overall design and lighting you want to achieve.
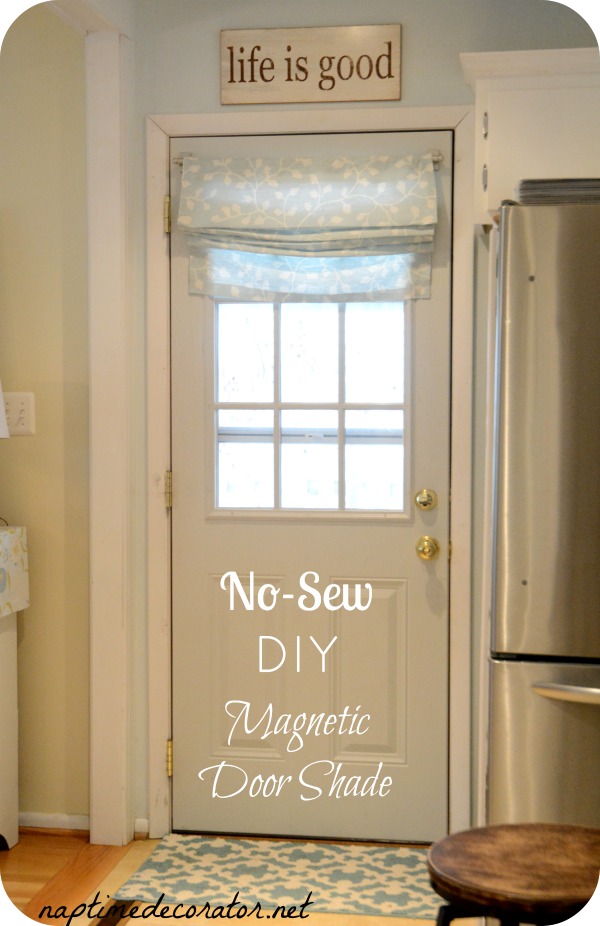
Step 2: Cut and Assemble Your Shade

As we can see from the illustration, Diy Hanging Shades has many fascinating aspects to explore.
Step 3: Attach Shade Brackets or Screws
Attach shade brackets or screws to the top of your shade, depending on the type of shade you're creating. Make sure they're securely attached to ensure stability.
Step 4: Add Hinges and Clips (Optional)
If you want to create a folding or retractable shade, attach hinges and clips to the sides or top of your shade.
Step 5: Hang Your Shade
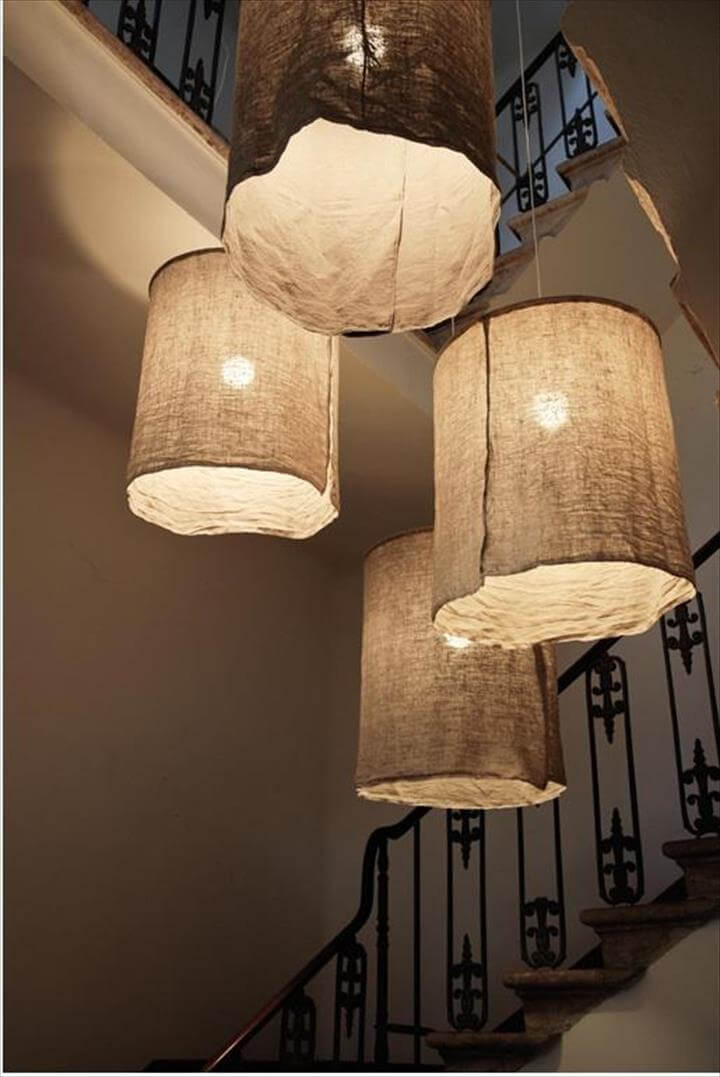
Use rope or cord to hang your shade, making sure it's securely attached to the shade brackets or screws. Adjust the shade to your desired position.
Tips and Variations
Here are some additional tips and variations to consider:
- Use energy-efficient materials and designs to maximize energy savings.
- Consider using motorized shades for easier operation.
- Experiment with different fabrics and patterns to create a unique look.
- Add room darkening or blackout panels for optimal light control.
Conclusion
Creating and hanging your own DIY hanging shades is a simple and rewarding DIY project. With the right materials and guidance, you can save money, customize your shades, and enjoy the many benefits of DIY hanging shades.
Whether you're a seasoned DIY enthusiast or a beginner, this guide has provided you with the knowledge and confidence to create and hang your own DIY hanging shades. Happy crafting!

:max_bytes(150000):strip_icc()/OakvillePergolaOntario_LT-58d8773f5f9b584683d47406.jpg "How to Install Blinds and Shades | The Home Depot - YouTube")


![How To Hang Blinds Without Drilling Holes [4 EASY methods] - Diy Hanging Shades](https://images.nexusapp.co/assets/88/a0/51/112422866.jpg "How To Hang Blinds Without Drilling Holes [4 EASY methods]")


