Roof Leak Repair Process

Mastering the Concepts of Roof Leak Repair Process Visually

Rooof Leak Repair Process: A Step-by-Step Guide

Introduction

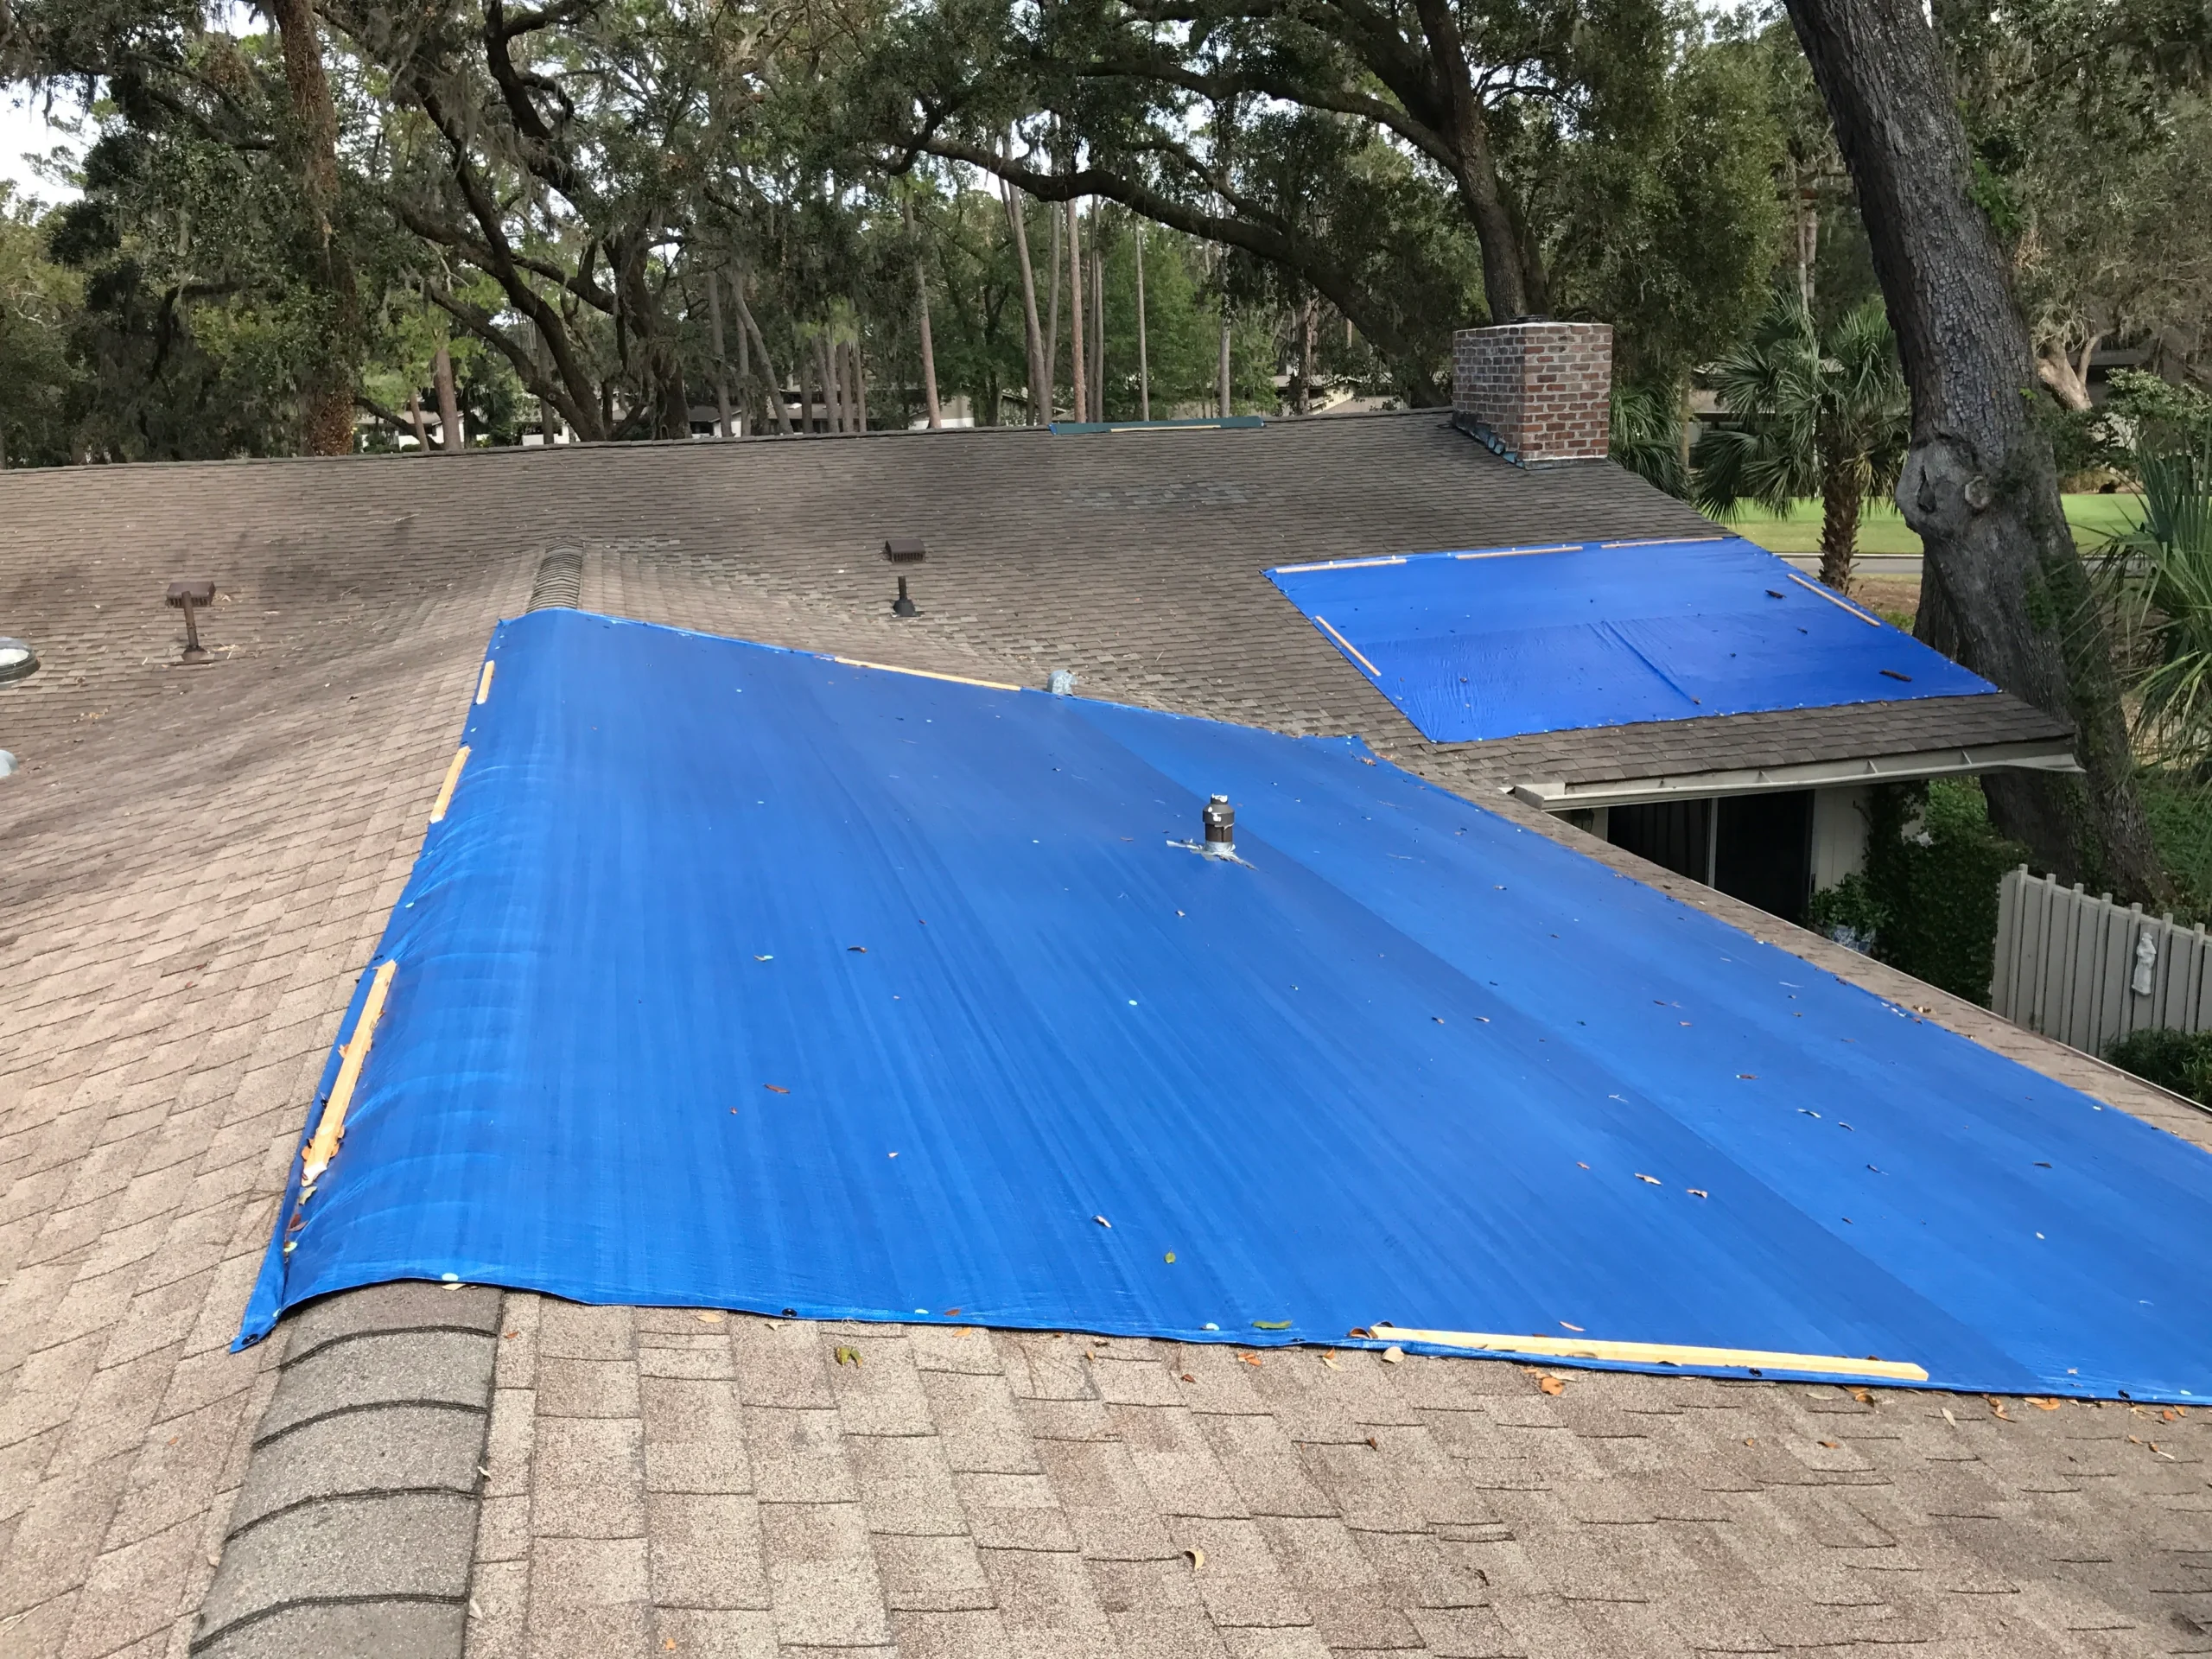
A leaky roof can be a homeowner's worst nightmare, causing water damage, mold growth, and even safety hazards. However, understanding the roof leak repair process can help you identify and fix the issue promptly, preventing further damage to your home. In this comprehensive guide, we'll walk you through the systematic approach professionals use to locate and repair roof leaks, from initial assessment to patching and verification.

Preparation and Safety Measures

A closer look at Roof Leak Repair Process
Roof Leak Repair Process
Before embarking on the roof leak repair process, ensure you take necessary safety precautions: * Wear proper protective gear, including gloves, safety glasses, and a harness * Inspect the roof for any structural damage or weakened areas that could lead to accidents * Ensure proper ventilation and lighting in the work area * Have a first aid kit and emergency contact numbers readily available

Step 1: Initial Assessment and Inspection

The first step in the roof leak repair process
Stunning Roof Leak Repair Process image
Roof Leak Repair Process
is to inspect the roof for any signs of damage, wear, or neglect. Look for: * Missing or damaged shingles * Cracked, broken, or loose flashing * Dripping water or signs of water stains * Gutter blockages or clogs * Sagging or uneven rooflines

Step 2: Identifying the Source of the Leak

Once you've identified potential problem areas, use the following techniques to pinpoint the source of the leak: * Visual inspection: Use a flashlight and binoculars to inspect the roof and walls for any signs of water damage * Water testing: Apply water to the suspected area to see if the leak appears * Moisture detection: Use a moisture meter to detect any hidden water damage With the source of the leak identified, it's time to begin the repair process. Depending on the extent of the damage, you may need to: * Replace damaged or missing shingles * Repair or replace flashing * Seal gaps and cracks * Replace damaged or rotten wood * Apply a waterproofing coating

Step 4: Verifying the Repair

Step 4: Verifying the Repair

To ensure the roof leak repair process is complete and effective, verify the repair by: * Inspecting the repaired area for any signs of water damage or leaks * Checking the roof for proper ventilation and drainage * Testing the repair by applying water to the area * Monitoring the roof for any further signs of damage or leaks

Conclusion

The roof leak repair process may seem daunting, but understanding the systematic approach professionals use can help you make informed decisions and potentially handle minor issues yourself. Remember to take necessary safety precautions, inspect the roof thoroughly, and verify the repair to ensure a successful outcome. By following these steps, you'll be well on your way to fixing that leaky roof and protecting your home from further damage.

Gallery Photos

You May Also Like

Getting A Driver'S License With A FelonyG Router Performance Optimization TipsProtecting Your Online Presence From Cyber HarassmentPolaris Battery ReplacementEasy Cat Hair De-MattingElectronic Engineering Repair ServicesCasement Window InstallationSkylight Installation RepairManually Operated Garage Door InstallationKitchen Cabinet Glazing TechniquesHyperconnectivity In The Healthcare IndustryGutter Guards InstallationGlp-1 Receptor Agonist And Mindful EatingJuvenile Talaria Sting CasesFarmhouse Bedroom DecorSmart Glass Repair Glass Repair KitsJob Search Tips For People With A Strong Portfolio
📜 DMCA ✉️ Contact 🔒 Privacy ©️ Copyright