Unlock the Secrets of Waterproof Mechanical Keyboard Kit Techniques
As a keyboard enthusiast, you're likely no stranger to the world of mechanical keyboards. With their tactile feedback, customizable switches, and sleek designs, it's no wonder why many enthusiasts swear by them. But what about taking your keyboard game to the next level by creating a truly waterproof mechanical keyboard? In this article, we'll delve into the world of waterproof mechanical keyboard kit techniques, exploring the best practices, tips, and tricks to help you build a durable and reliable keyboard that can withstand even the toughest environments.Understanding Waterproof Mechanical Keyboards
Before we dive into the nitty-gritty of building a waterproof mechanical keyboard, it's essential to understand what makes a keyboard truly waterproof. Unlike water-resistant keyboards, which can only protect against minor spills, a waterproof keyboard can be fully submerged without damage. This is because waterproof keyboards use specialized components and techniques to prevent water from entering the keyboard's internal mechanisms. To create a waterproof mechanical keyboard, you'll need a waterproof keyboard kit that includes the following essential components: *- Waterproof switches: These switches are specifically designed to be sealed and waterproof, allowing water to pass through while keeping electrical contacts dry.
- Water-resistant PCB: A printed circuit board (PCB) that's designed to withstand water ingress and prevent electrical shorts.
- Sealed keycaps: Keycaps that are designed to be airtight and waterproof, preventing water from seeping into the keyboard's mechanical switches.
- Gaskets and seals: Additional seals and gaskets that ensure a watertight fit between components and prevent water from entering the keyboard.
- Adhesives: Specialized adhesives used to seal gaps and ensure a secure bond between components.
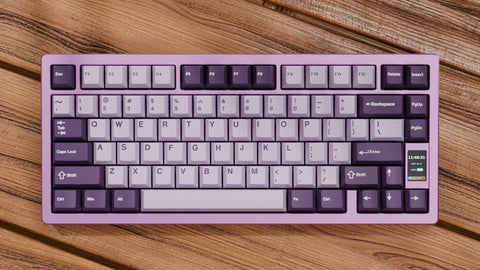
As we can see from the illustration, Waterproof Mechanical Keyboard Kit Techniques has many fascinating aspects to explore.
Techniques for Building a Waterproof Mechanical Keyboard
With your waterproof keyboard kit in hand, it's time to start building! Here are some essential techniques to get you started: *Sealing the PCB

Installing Waterproof Switches
Carefully insert the waterproof switches into the PCB, making sure they're securely seated. Apply a small amount of adhesive to the switch stem and attach the keycap. Test the switch to ensure it's functioning properly. *Adding Gaskets and Seals

This particular example perfectly highlights why Waterproof Mechanical Keyboard Kit Techniques is so captivating.
Apply gaskets and seals to any gaps or joints between components. Use a bead of adhesive to secure the seals in place, ensuring a watertight fit. * Once your keyboard is assembled, test it thoroughly to ensure it's waterproof and functions correctly. Submerge the keyboard in water for a short period to test its water resistance.


![View of 10 Best Waterproof Mechanical Keyboards [2025] - hirosarts.com](https://i.ytimg.com/vi/Kjo8Pl2DWGI/maxresdefault.jpg "10 Best Waterproof Mechanical Keyboards [2025] - hirosarts.com")


